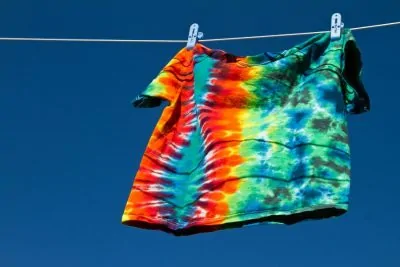
Tie dye shirts are refreshing and put a positive spin on the day. They give off a laidback summer vibe that’s as energizing and exciting as can be. Wear your homemade tie dye shirt to the next music festival or concert you attend, or just enjoy the colors on a warm breezy day out at the beach.
Although tie dye shirts seem like a concept from the 80s and 90s, they never really go out of fashion due to the sheer uniqueness of their psychedelic designs with a cheery burst of colors. It’s impossible to have a bad day while wearing a beautiful tie dye shirt. Besides giving off an overall cool and laidback look, they also leave ample room for accessorizing and pairing them up with shorts or skirts.
In this article, I will show you how to make a DIY tie dye shirt at home and transform a plain tee into a colorful masterpiece. Ready?
How to Make DIY Tie Dye Shirts
There are a few easy steps involved for a successful DIY tie dye shirt project.
- Find a plain white shirt with a material that can be used for tie dye. The best option is a 100% cotton or a mix of cotton and polyester. However, with a mixed material the resultant color isn’t as vibrant. Remember that the dyes are best blended with natural materials such as cotton, rayon and silk.
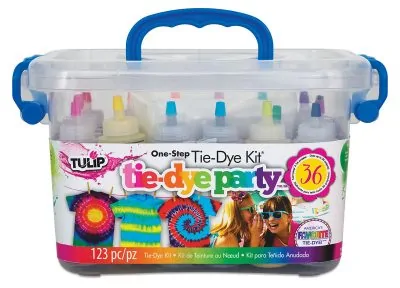
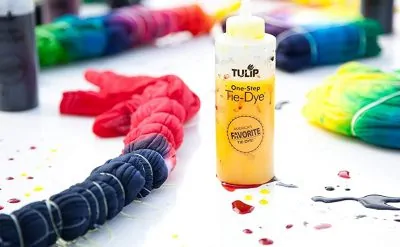
- Next comes the dye, and this is the part where I suggest you to get as creative as you want. We’re talking neon colors, rainbow shades, and fun patterns. Dye kits are available from craft stores in squeeze bottles or you can simply order it from Amazon. There are single packets of dyes available as well that come with soda ash and urea to mix as per instructions.
- Dye kits also include rubber bands and rubber gloves. However, with natural dyes, these things need to be arranged beforehand. Also keep a few large zip lock bags and a wooden stick/dowel handy as well as a bucket or tub for soaking the shirt.
- In order to make the shirt receptive to the dye, soak it in a solution of soda ash with warm water (not hot) for around 10 minutes. 2-3 tablespoons of table salt can also be added to the solution. Make sure to have your rubber gloves on as soda ash is somewhat caustic. After 10 minutes, thoroughly wring the shirt out to get as much of the wetness out as possible, as it allows for the dye to get in. Perhaps drying it on the washing machine’s spin cycle would help.
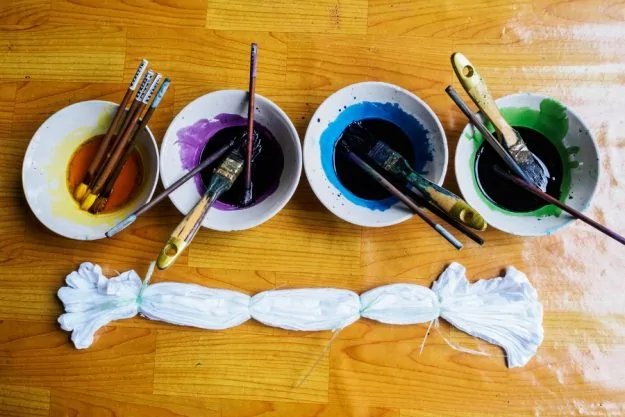
- Once the shirt is fairly dry, lay it down on a flat surface and twist it from the center with the help of a wooden stick, dowel rod, or even your finger would do. This can be done in either direction as long as a nice flat pie shape is achieved. Without disturbing this shape, place a few rubber bands around the shirt. This part is a little tricky as it needs precision for good results.
- The dyeing process is better done outdoors in the garage or shed, as it can get a bit messy. However, for indoors, it’s advisable to use a plastic sheet or an old piece of cloth over the working surface to prevent any stains. The dyes itself do not harm the skin, but they are hard to wash off.
- Start from the center of the plain t-shirt while holding the bottle of dye steadily, squeezing out generously through one third of the shirt (or a lesser portion if using more colors). In the same way, color in the other portions with three or more dye colors. A little bit of overlap at the edges of each section is alright, as they blend in well to give a rainbow effect that’s quite beautiful!
- The next step is to simply flip the shirt over and repeat the same method on the backside with the same colors. After the dyeing process is complete, place the shirt into a zip lock bag and seal it up. Place this bag in a warm place and let it rest for one whole day (or more!). This gives enough time for the dye to bond with the fabric, leaving no areas of fading out.
- Next comes the part we all enjoy the most! It’s time to take the cat out of the bag (jokes apart, please don’t tie dye your cat!). The unwrapping part is truly satisfying as it gives you the first look of the beautiful piece of art you’ve created. Run the shirt under cold water, but don’t be alarmed if a lot of dye rinses off as this is quite normal.
Voila! The charismatic, eye-catching, flamboyant, and colorful shirt is ready to be worn and flaunted around the town.
DIY Bleach Tie Dye (Reverse Tie Dye) Technique

via brittanylynnlutz
Bleach Tie Dye is a fun concept that can be done with any of the old plain shirt lying around in the house in any color! Instead of adding colors, we are virtually bleaching the colors out in varied patterns to create a lovely tie dye effect on the fabric. This requires even less materials – as essentially all you need is some bleach and safety gear.
This process is also called "Reverse Dyeing". The core technique for wrapping and tying the shirt is essentially the same as in normal dyeing, however, there’s no need for special dye kits or food coloring.
- Just find an old shirt that needs a little sprucing up and plain bleach.
- Fold the shirt to create the desired pattern of your liking, with the rubber bands to hold it in place.
- Next, instead of adding dye, apply a solution made form bleach and water that takes away the original color from the areas where it is applied.
- For applying bleach, a squeeze bottle can be made from drinking bottles, or a spray bottle can also be used.
These areas wouldn’t necessarily turn white, but change into an entirely different color that gives a really cool effect. For instance, a black or dark blue shirt will have bleached areas appearing as a red or purple color once the bleach activates!
DIY Tie Dye Shirts With Food Coloring
For a true ‘DIY’ project in every sense of the word, I suggest making use of the things already present in the house for an artistic take on the tie dye process. This can be done with just a few drops of food coloring and vinegar.
The method for this DIY tie dye shirt process is pretty much the same as described above, with just a few subtle differences.
- Firstly, instead of soda ash, use vinegar for soaking the shirt for about an hour.
- As for the dyes, add 7-8 drops of food coloring in ½ cup of water.
- By using old plastic bottles at home, you can even make your own squeeze bottle! All you’ll need to do is make a hole in the cap.
- After you have prepared the different colors and poured them in the bottle, tie dye the shirt as usual with the same steps.
This is a fun and easy way to use the things already present in home with strikingly similar results. However, food coloring is not as durable as dye paints, and will fade away sooner than a regular tie dye shirt.
How to Wash Your DIY Tie Dye Shirts
There is no special technique when it comes to washing a tie dye fabric. However, as soon as it is removed from the zip lock bag, the first few rinses ensure that all the loose dye is removed from the shirt. It is recommended to keep rinsing the shirt until the water run clears. Keep the rubber gloves on throughout this process to not get any dye on the hands.
While you may think that hand washing is the best option for tie and dye shirts, I recommend using a washing machine for best results, as any loose dye can be drained away without being a hassle for you. Run the machine several times on a normal cold-water cycle. The machine can be run for a full length of the cycle, and the cold water ensures that all the loose dye comes out without the shirt losing much color. Although any laundry detergent would do, Synthrapol is a detergent that's particularly good with dyed fabrics.
Even after all the loose dye has been rinsed out, it’s best to not wash the tie dye shirt with other clothes for the first 3-4 washes to prevent the discoloration of other clothes. The tie dye shirt itself can be washed regularly thereof, with the same methods of washing and drying as for other clothes.
DIY American Flag / Fourth of July Tie Dye Shirts
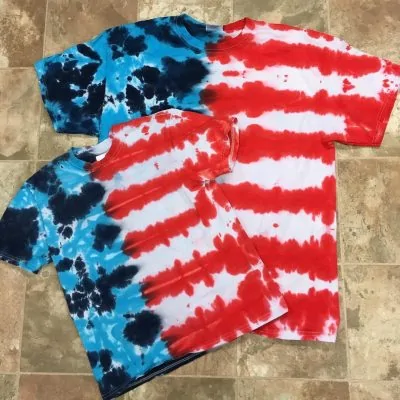
Get into the real holiday spirit by creating a patriotic DIY tie dye shirt at home using the colors of America’s flag. Truly, a tie dye shirt is as American as a cheeseburger or apple pie! It brightens up the holiday festivities and gives one a sense of accomplishment while doing so.
To make a DIY tie dye shirt for 4th of July, the method is pretty much the same, with variations in the dye colors of course! There are different patterns and designs but the colors essentially stay the same.
- Use red and blue dyes between the different sections of the shirt divided by the rubber bands.
- For an added white effect like the stars on the flag, sprinkle some salt on the shirt while the dye is still wet.
- This gives a nice starry effect to the shirts.
It is a fun holiday activity to try with the kids, and can be done with tank tops, white frocks, jackets, and caps as well!
More Cool DIY Tie Dye Shirt Pattern Ideas
While we discussed just one method of a spiral pattern, there are many others to try out, as long as you are willing to push your creative muse and try something new and different.
Here are some cool DIY tie dye shirts that will surely serve as inspiration.
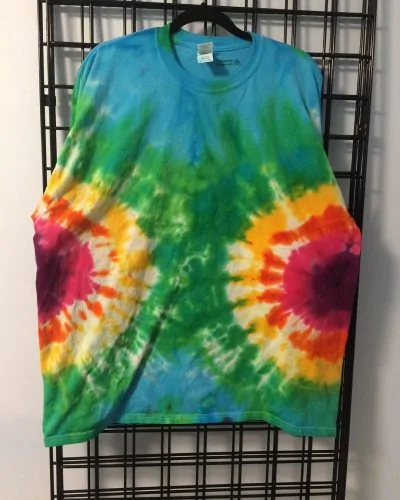
Double Rainbow Splash - Explosion of Colors
While I recommend sticking to the basic technique for the first try, the bursting rainbow effect can be achieved be doubling on the spiral on either sides. This tie dye shirt offers an explosion of colors to play with. While keeping the base a cool, subtle light blue, the vibrant colors are used as spirals to really bring out the brightness and summery vibes.
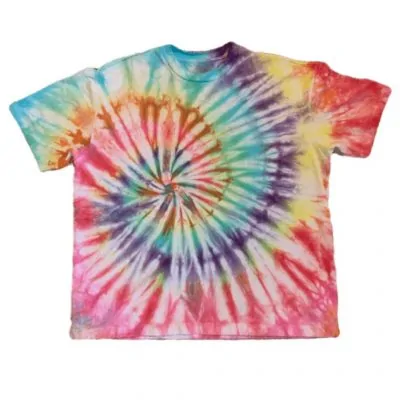
Side Spirals - Twist it Real Good!
via soldoutdisco
When twisting the shirt before putting on the rubber bands, the center of the twist doesn’t necessarily have to be the center of the shirt itself. Play with different patterns and designs by twisting it from a different point on the side of the shirt for a truly remarkable pattern opening up to a variety of vibrant colors spreading across the shirt.
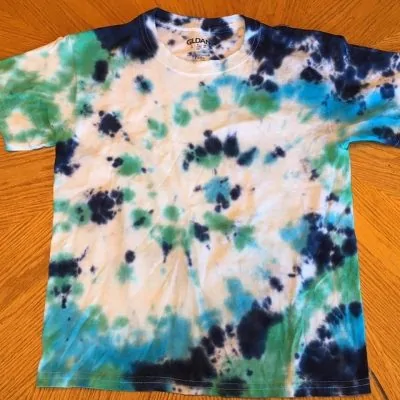
Less is More - Tie Dye With 2 Colors
via lyndisprojects
For a tie dye shirt to be colorful or psychedelic, it is not necessary to use a lot of colors. This is especially true in cases when people are using the food coloring present at home, and there isn’t much range or options to play with. With varying patterns and designs, even two basic colors can create wonderful patterns. Keeping the edges fuzzy also gives room for some blending in and creation of different shades that produce remarkable end results.
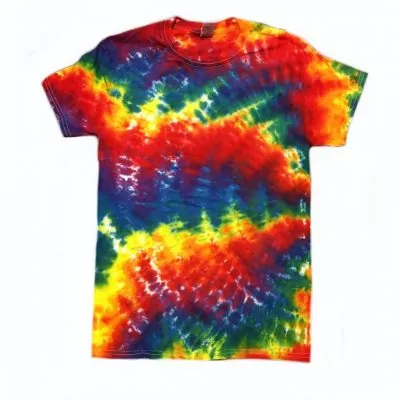
The Mighty Ripple - A Super Colorful Tie Dye Idea
via darrinhenley
This is one of the most colorful ones in the bunch! Giving a truly hippie vibe, these DIY tie dye shirts are ideal for music festivals and jam bands. With a lovely rainbow effect and playing with different shades and blends, the shirt comes alive with vivacious colors and patterns. I'm sure that anyone who wears a funky shirt like this will definitely be in better spirits and charged to spend the day in high morale.
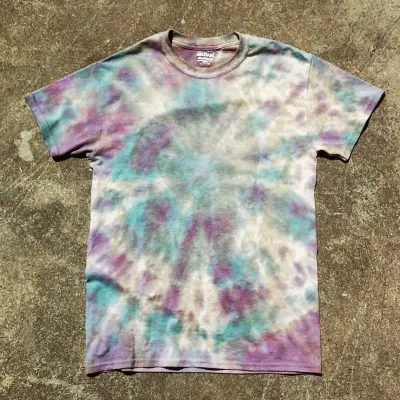
Tie Dye Galaxy Pattern - Retro Style With Modern Vibe
via kireji_art
This lovely DIY tie dye shirt reminds us of the sky and galaxies. With the use of mellow colors in a subtle yet impactful pattern, we can combine retro fashion with a modern vibe. This pattern only makes use of two colors, but splashes them across the shirt brilliantly to create a piece of art unlike any other.
Tie Dye Shirts Tips & Tricks Video Tutorial
Finally, here is a video tutorial that shows more tie dye tips and tricks.
Have fun making your own DIY Tie Dye shirt!

