When it comes to choosing the right kind of flooring for your home, there are a number of factors that must be taken into consideration. What room you are flooring should be on top of your list, as this can dictate what kind of materials will be suitable, your budget, and your potential installation costs.
One choice for flooring that has become increasingly popular over time is luxury vinyl tiles or LVT flooring. This type of flooring comes with a number of benefits, both aesthetically and logistically, making it a popular choice for many modern homes.
If you have decided that this kind of flooring is the best choice for you, you’re in luck. It is incredibly easy to install yourself and can prove to be an extremely cost-effective option.
Also read: 80 BRILLIANT ORGANIZING AND STORAGE SOLUTIONS
We’ve put together a simple guide on how to install LVT flooring yourself most quickly and easily.

What You’ll Need
As with any DIY task, installing your own flooring requires you to have some specific tools and pieces of equipment to ensure you can get the job done properly. Here is a list of the things you’ll need:
- Tape measure
- Ruler
- Spirit level
- Pencil
- Saw
- Stanley knife
- Spacers
- Underlay
- Mallet
Ensure that all your tools are in good working order and free from rust or degradation. Not only will this ensure you do not damage your flooring, but it will also protect you from injuries.
Also read: HOW TO MAKE GLOW IN THE DARK PATHWAYS
Preparing The Site
This step is absolutely crucial. You must prepare the site before laying your flooring to prevent any issues or imperfections with the finished product. The floor should be cleared and free of furniture and debris. Brush and vacuum the floor to remove any dirt and dust.
Use your spirit level and check for any unevenness on the surface. Dips or bumps can cause severe imperfections once you have laid your flooring, so it’s vital that you identify and remedy these ahead of time.
Bumps can be sanded down, while dips can be filled in using a special compound. Ensure the compound has fully dried before proceeding.
Also read: THE 30 BEST TOOTHPASTE LIFE HACKS EVER
Acclimatize The Flooring
Once your site is properly prepped, you should leave the box containing your LVT flooring in the room for at least 48 hours.
This will allow the material to adapt and settle into the particular conditions of that space, giving it time to adjust to the unique temperature and humidity characteristics of the room.
Failure to do this can result in your flooring changing shape after it has been laid, creating a messy and uneven finish.
Install The Underlay
Underlay acts as a support for your flooring and works to hold it securely in place. Use specific LVT underlay. This is high density with a moisture barrier and is perfectly suited for use with luxury vinyl tiles.
The underlay should be installed at a 90-degree angle to the direction the flooring runs, with the moisture barrier on the bottom side.
Also read: 10 FUN AND CREATIVE HOMEMADE EASTER BASKET IDEAS
Lay The Flooring
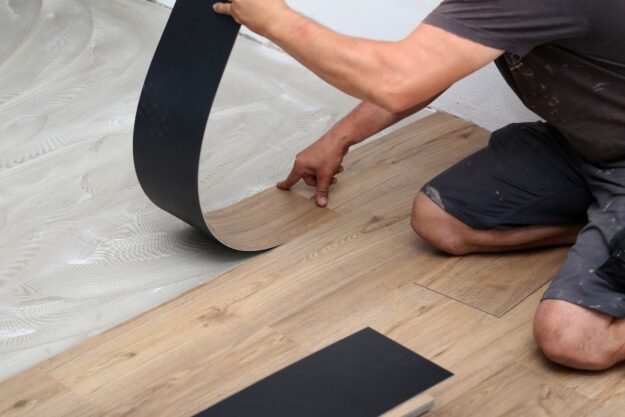
With your site prepped, material acclimatized, and underlay installed, it’s not time to lay your flooring and finish the job. Lay it directly on top of the underlay, starting against a wall.
Use spacers to establish a consistent gap between the wall and the edge of the flooring. Don’t lay the flooring continuously for longer than seven meters. Use threshold strips to break it up. Threshold strips should also be used at doorways.
Conclusion
Thankfully, installing this kind of flooring yourself couldn’t be easier. Follow the steps we’ve outlined above and enjoy your new luxury vinyl-tiled home.
